This help article is related to the Production Accounting Suite
In Wrapbook, production accountants and administrators can manage vendors using either the Production Accounting Suite or Cost tracking. To understand the differences, click here.
Managing Vendors using the Production Accounting Suite (PAS) is permission based
To manage vendors in PAS, your account must have one of the following roles enabled:
Role: Company Admin, Company Manager
Custom role with: Accounting & Cost Tracking: Vendors - Full access
Overview
Default coding rules let you assign preferred account and tag codes to specific vendors at the project level, enabling you to set up different codes for the same vendor across multiple projects.
When a vendor with project-level default codes is selected on a new purchase order, AP invoice, or journal entry, those fields populate automatically — reducing manual entry and keeping your GL coding consistent.
How auto-population of default vendor codes works
When a vendor with default codes configured is selected on a new PO, AP invoice, or journal entry:
The account and tag fields associated with that rule populate automatically
You can edit these values on the transaction at any time
Note: Default codes apply to new transactions only. Existing transactions are not affected when a rule is added or changed.
How to access your project’s coding rules
To access your project’s coding rules:
In the left-side navigation, click the dropdown menu and select the project you want to configure
In the left-side navigation, click Project settings
On the Project settings page, scroll down to the Accounting section
Click the Manage button next to Coding rules
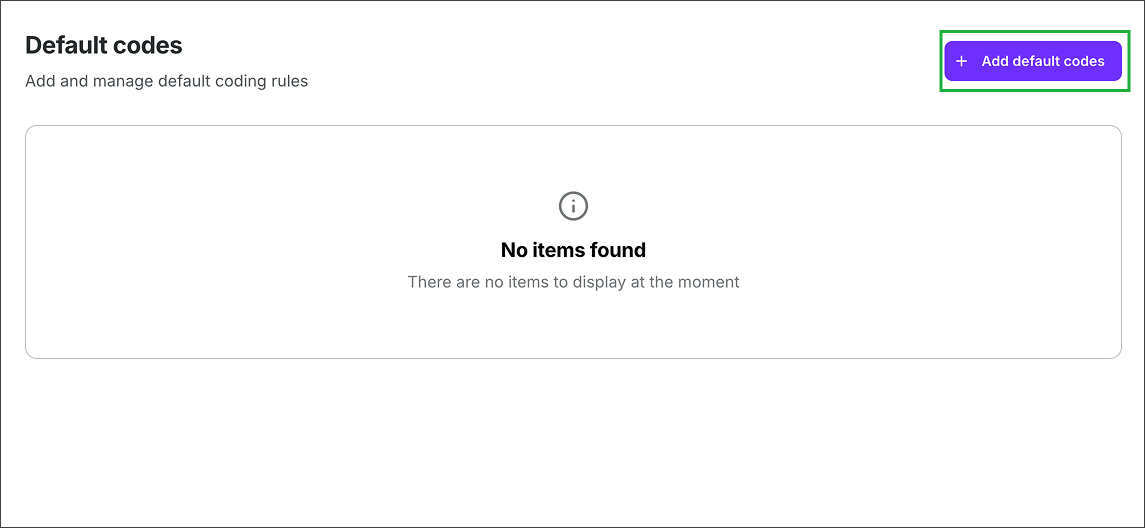
This opens the Default codes page, where you can view, add, and manage all coding rules for the project.
How to add a default code rule for vendors
On the Default codes page, click the + Add default codes button
In the Add default code rule drawer, click the Condition dropdown menu and select Vendor
Click the Is dropdown menu to search for and select the vendor you want to assign default codes to
If the vendor doesn’t appear in the list, you’ll need to add them
Enter the coding values you want to apply automatically when this vendor is selected:
Account code
Tax code 1099
Location
Production/episode
Set
Free field 1
Note: You only need to fill in the fields you want to auto-populate. Leave any fields blank to skip them.
Click the Add Rule button
The rule will now appear on the project’s Default codes page and will apply to new transactions when the specified vendor is selected.
Click the + Add default codes button
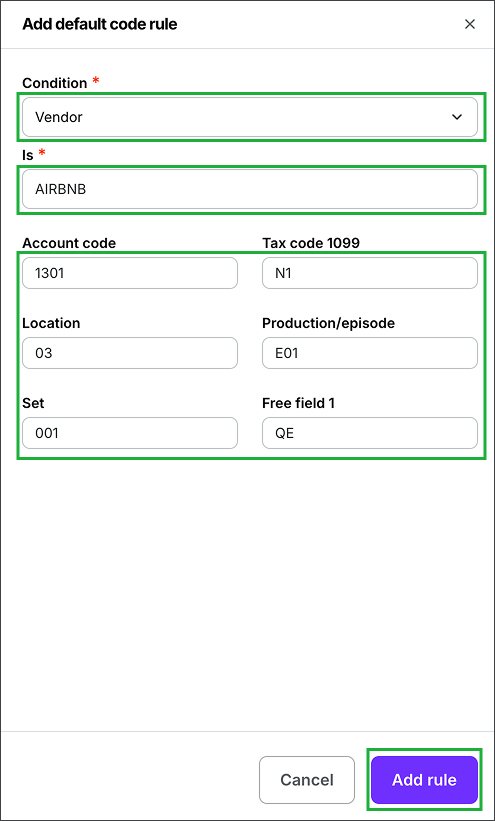
Under Condition, select Vendor, under Is, select the vendor’s name from the list, and then enter the codes that you want to apply. When you’re ready, click the Add rule.
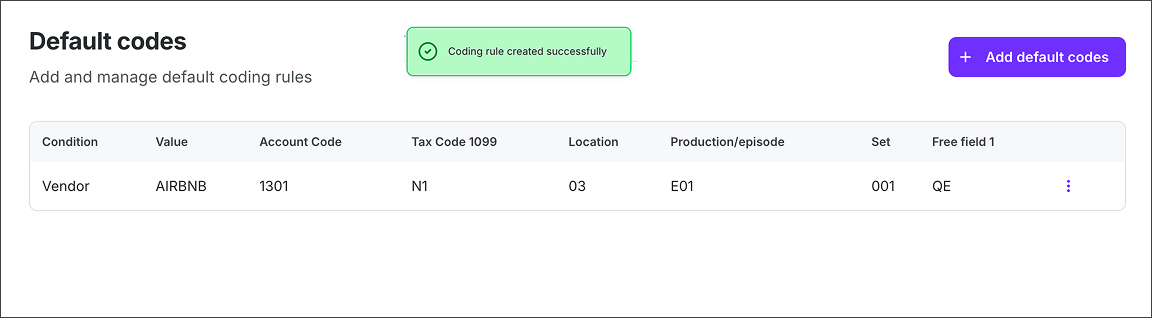
A confirmation will appear at the top of the page, and the new rule will be added to the project’s Default codes settings
Add default codes directly on a vendor record
You can also assign default codes when:
Edit or delete a coding rule
To edit or delete a coding rule:
On the Default codes page, find the rule you want to update
Click the three dots at the end of the row
Select Edit to update the rule, or Delete to remove it
If you Edit a rule, be sure to click the Save changes button before closing the Edit default code rule drawer
If your project has a large number of coding rules, you can search by vendor or condition to find the rules you want to access.
AI-suggested coding rules
Wrapbook can analyze your project's historical transaction coding and automatically suggest rules for vendors that don't yet have a default code assigned. This saves time on manual rule setup, especially for large vendor lists.
How to review and accept AI-suggested rules
In the left-side navigation, click the dropdown menu and select the project you want to configure.
In the left-side navigation, click Project settings
In the Project settings sub-menu, click Accounting
On the Accounting settings page click the Manage button next to Coding rules
On the Default codes page, click the Suggest default codes button to view AI-suggested rules
Click the checkboxes next to each suggestion that you want to apply and then click the Add default codes button
The accepted suggestions will be immediately added to your project's Default codes page and will apply to new transactions when the specified vendor is selected.
Note: AI suggestions are based on historical coding patterns in your project. You can edit or delete any accepted rule at any time from the Default codes page. To learn more see Using Code Assist for real-time account code suggestions (PAS).
Add an exception to a coding rule
Exceptions let you define a second set of coding outputs for a rule based on an additional condition. When the exception condition is met, Wrapbook applies the exception codes instead of the default rule codes.
Example: A rule codes all Home Depot transactions to the Construction account. With an exception, you can add: "Unless the description contains 'rental' → apply Equipment Rental instead."
How to add an exception to a coding rule
On the Default codes page, find the rule you want to update
Click the three dots at the end of the row and select Edit
In the Edit default code rule drawer, click the + Add rule exception button
In the exception condition fields, click on the applicable fields to define when the exception should apply
Enter the coding values to apply when the exception condition is met
When you’re ready, click the Save changes button
The rule will now appear on the Default codes page along with the number of exceptions. When a transaction matches both the main rule condition and the exception condition, the exception codes are applied. If the exception condition is not met, the original rule codes apply as normal.