This help article is related to Cost tracking
In Wrapbook, production accountants and administrators can manage AP invoices using either Cost tracking or the Production Accounting Suite.
Adding and creating invoices in Cost tracking is permission based
To add and create an invoice in Cost tracking, your account must have one of the following roles enabled:
Role: Company Admin, Company Manager, or Project Coordinator
Custom role with:
AP invoices - Full access, or Create and manage
Creating an invoice in payables
To create an invoice in Cost tracking for payables:
In the left-side navigation, click the dropdown menu to select the project that you want to create an invoice for
In the left-side navigation, expand the Cost tracking menu, and then click Invoices
On the Invoices dashboard, click the Add invoice button
In the Add invoice popup, click the Create AP button
On the Invoice page, enter the required information
Invoice #
Invoice amount
Invoice date
Due date
State worked
Description
Adding the vendor
Every payables invoice in Wrapbook needs to be connected to a vendor listed in your company’s Vendors database.
If the name of the Vendor on the invoice matches an existing vendor in your company’s database, they’ll be automatically connected and you can proceed to the next step
If the Vendor name doesn’t match an existing vendor record in your company’s database, you’ll be prompted to either create a new vendor or match the invoice with an official vendor in the system
To create a new vendor, click the button and then enter the vendor information. To learn more, see Add a vendor.
To match the invoice with an existing vendor in your company’s database, click the search icon and begin typing the name of the vendor. Click the name once it appears to connect it to the invoice.
View and update vendor details
When processing invoices in Cost tracking, you’ll be able to add a vendor’s details without leaving the page. If you make any changes to a vendor’s details, they’ll be applied to the vendor’s record in your company’s Vendors database.
You can access information on file for the vendor in the Invoice details, under Vendor
If your company has a copy of the vendor’s W9, it will be linked here. If the vendor doesn’t have a W9 on file, an alert will display saying: No W9 on file
You can click View vendor details to see the vendor record from your company’s Vendors database. To return to the Invoice details, click the Close button.
To update vendor details from a payables invoice in Cost tracking:
Under Invoice details, click View vendor details
In the Vendor details panel, click the Edit vendor button
In the Edit Vendor popup, click on any of the fields to make changes
If you make any changes, click the Save Vendor button
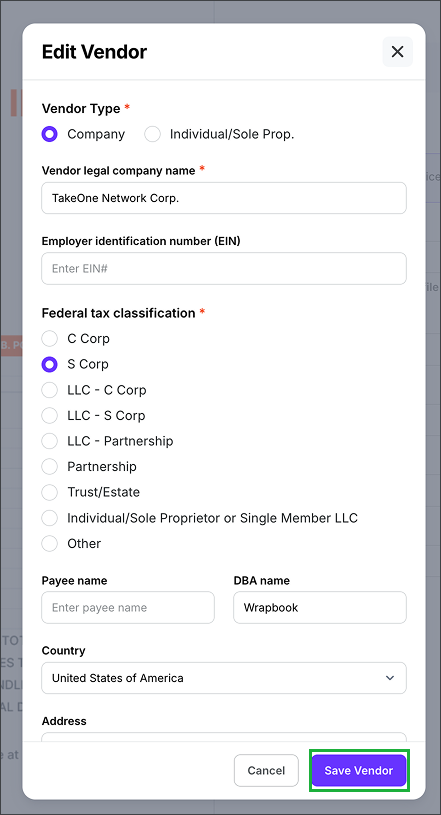
In the Edit Vendor popup, click on any of the fields to update. When. you’re done, click the Save Vendor button.
Attaching files to a payables invoice
To add a digital copy of the invoice document to the payables invoice:
Click the Attach files button to upload documentation from your computer
When you’re finished, click the Save button
Saving the payables invoice
Once the payables invoice is saved, it will have a status of either Unpaid or Paid:
Unpaid - Invoice has been created, but the POs have not yet been relieved
Paid - Invoice has been created, and the POs have been fully relieved
Relieving and coding open POs in payables
You can use the Relieve open POs and Invoice details sections of the invoice to
Associate existing POs with the payables invoice
To learn more, see Relieving POs (Payables)
You can use the Invoice details to:
View and track POs that are related to the invoice lines
See PO line item data including PO #, Line #, Description, Amount and Close
Code the Line #s