Fill out your timecard
From the left-side navigation, click All projects
On your All projects dashboard, click the View Project button next to the project that you want to submit a timecard for
In the left-side navigation, click Timecard. By default, the timecard for the most recent workweek will be displayed on the page. Be sure to check the workweek dates to confirm you’re entering times on the correct timecard. To learn about incorrect timecard dates, see Why can’t I enter dates in timecards?
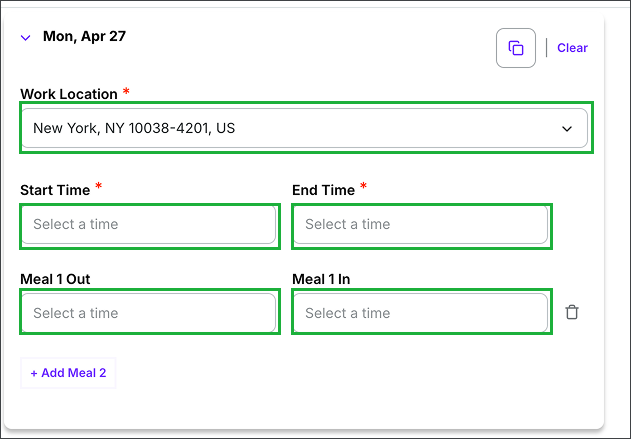
Click on the specific days you worked
Enter your Start Time and End Time for each day
Enter your Meal Start and Meal End times
If you worked at multiple rates, click the Rate dropdown menu to select the appropriate rate for each type of work
If you need to add your expenses for reimbursement, click the dropdown menu under Select an allowance or expense
Optionally, click to Add Notes
When you’ve finished filling out your timecard for the workweek, click Expand all to review the timecard entries then click the Save and Review button to confirm the details you’ve entered
In the popup click the checkbox to agree to the attestation
When you’re ready to send your timecard to production, click the Submit button
.png)
Click the dropdown menu to select the workweek, then click the toggle next to a day that you worked
For each day worked, enter the required information and optional information when applicable
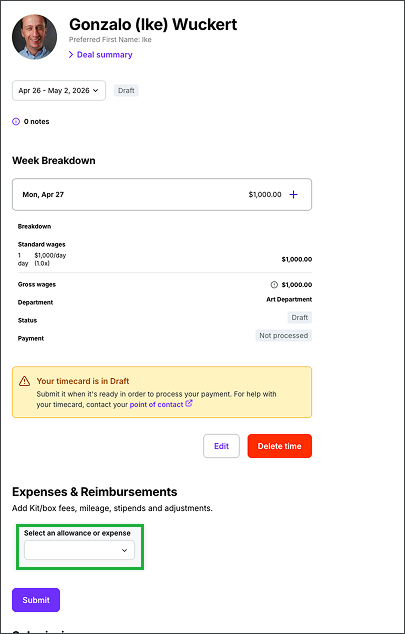
If you need to add your expenses for reimbursement, click the dropdown menu under Select an allowance or expense
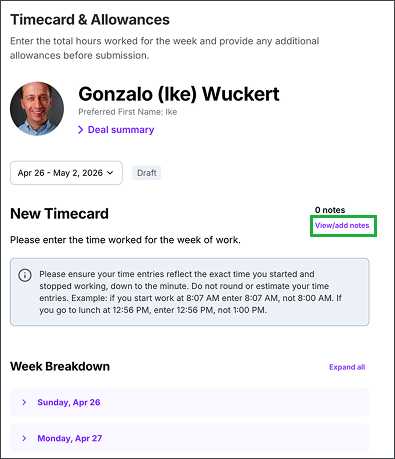
You can click View/add notes to leave a message for your production team to see when they review your timecard
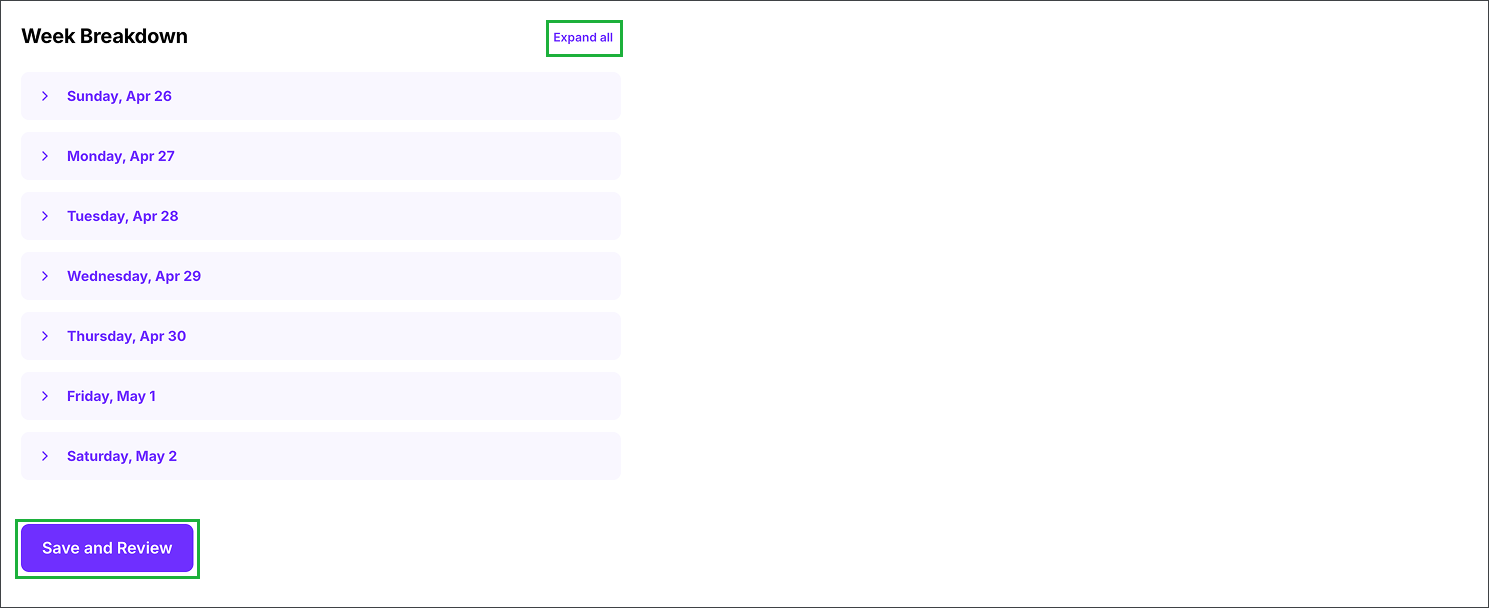
Click Expand all to view all of the details that have been added to the timecard, then click the Save and Review button
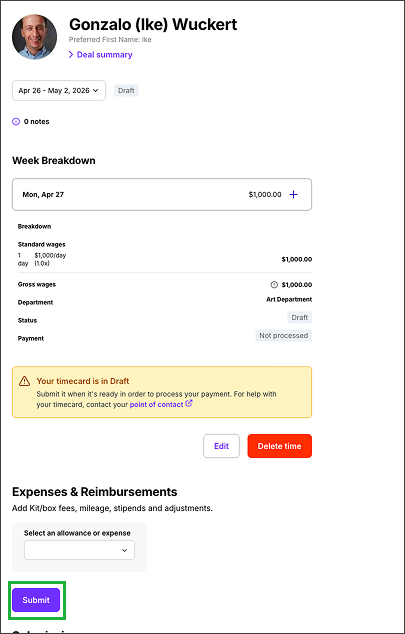
After you agree to the attestation, click the Submit button to move your timecard out of Draft status.
Meal breaks
Below are some general guidelines for recording meal breaks on timecards in Wrapbook. Keep in mind that rules about meal breaks depend on your union affiliations and work location. For questions about meal break rules that apply to you specifically, contact your Production Administrator.
Workers need to enter their Meal Start and Meal End times during their workday
Workers can add multiple meal breaks using the "+ Add Meal" button.
Meal breaks must occur during work time - meals taken before Start Time or after End Time should not be entered
In California, meal penalties are mandatory for non-union workers, while they’re optional in other locations
For non-union workers in California, meal penalties apply if there is no 30-minute break at the 6-hour mark
The maximum amount a meal break can deduct is 1 hour in California
A maximum of one non-union meal penalty will be paid for each day therest period is violated regardless of the number of times, Per CA IWC Article 12
When NDB appears on your timecard, it means Non-Deductible Breakfast (or meal). This is a paid meal break of at least 15 minutes that can be given to a performer or crew member who reports to work earlier than general crew call to re-set the clock so their meal break aligns with the rest of the crew. The NDB must be given within 2 hours of their call time.
Adding your expenses
In Wrapbook, you can add your expenses directly to your timecards. To learn more, see About Allowances & Expenses.
Add notes to your timecard
At the top of your timecard, click View/add notes to provide additional details about your timecard that will be visible to the timecard reviewer.
Notes are useful for:
Explaining any special circumstances
Providing context for multiple meal breaks or different work rates
Adding clarity to any entries that might need explanation for the reviewer
What happens next
Your timecard will remain in Draft status until it’s submitted
Once submitted, it will appear in the Submissions list with the status Submitted
Your project’s administrator will receive a notification that your timecard has been submitted and is ready for review
To learn more about timecard submission status in Wrapbook, see Understanding your timecard & payment status.