This help article is related to Cost tracking
In Wrapbook, production accountants and administrators can manage POs using either Cost tracking or the Production Accounting Suite.
POs are permission based
To create POs in Cost tracking, your account must have one of the following roles enabled:
Role: Company Admin, Company Manager, or Project Coordinator
Custom role with:
Accounting & Cost Tracking / Purchase orders - Full access, Manage, Approve only, or View only
Creating a PO in Cost tracking
To create a new PO in Cost tracking:
From the left-side navigation, click the dropdown menu
Select the name of the project that you want to see purchase orders for
In the project dashboard’s Purchase orders overview, click View POs
On the Purchase Orders page, click the Create PO button, and then select New PO. Click here to learn how to use the Quick create PO option.
On new PO page, click the lookup icon under Vendor to select a vendor from your company's database in Wrapbook, or click the Create new vendor button to add details for a new vendor, and then continue entering the rest of the required details.
You can add documentation to the PO by clicking the Attach files button
Use the line items beneath the PO details to enter items included in the PO
To upload an invoice click the Import button
To add an invoice that’s already been created for the project in Wrapbook, click the Invoices & Payments button
Use the filters to sort and find lines that have already been added to the PO. You can filter by Line #, Description, Asset, and Status
Click the three dots next to a line item to Remove, Add new line, Duplicate, or Close
When you’re finished, click the Save button
If you’re using an accounting software integration with Wrapbook, vendors will be automatically added for use when adding POs.
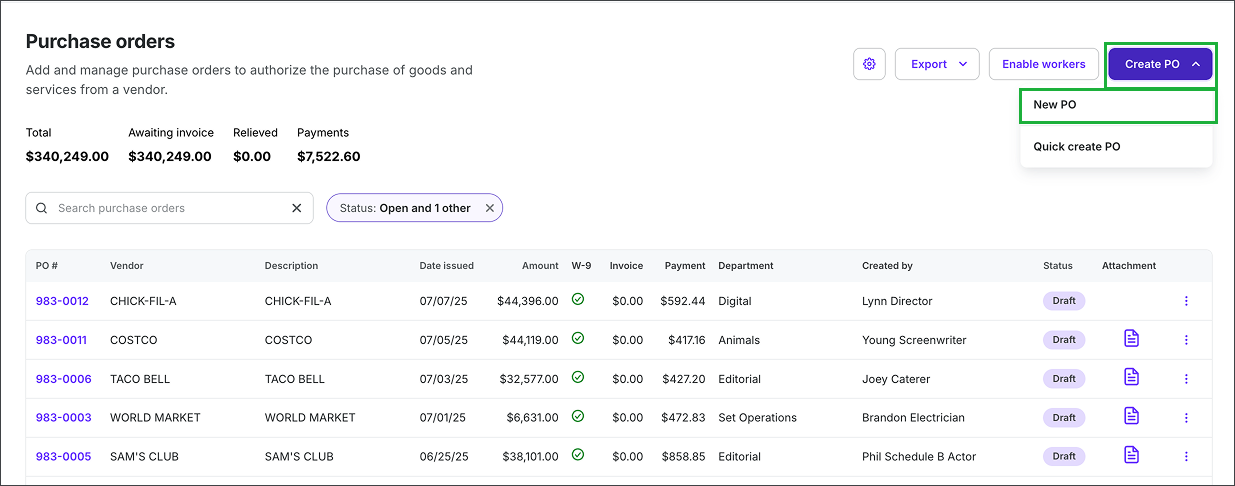
On the Purchase orders dashboard, click the Create PO button, then select New PO
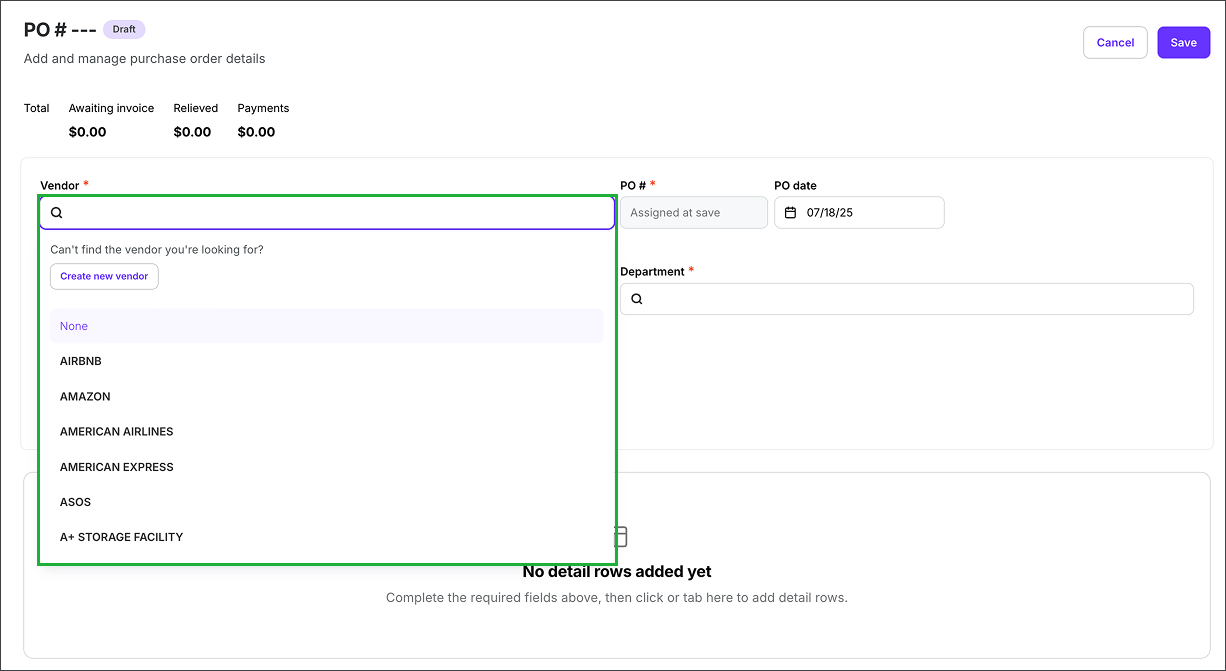
Click the lookup icon under Vendor to select a vendor from your company's database in Wrapbook, or click the Create new vendor button to add details for a new vendor
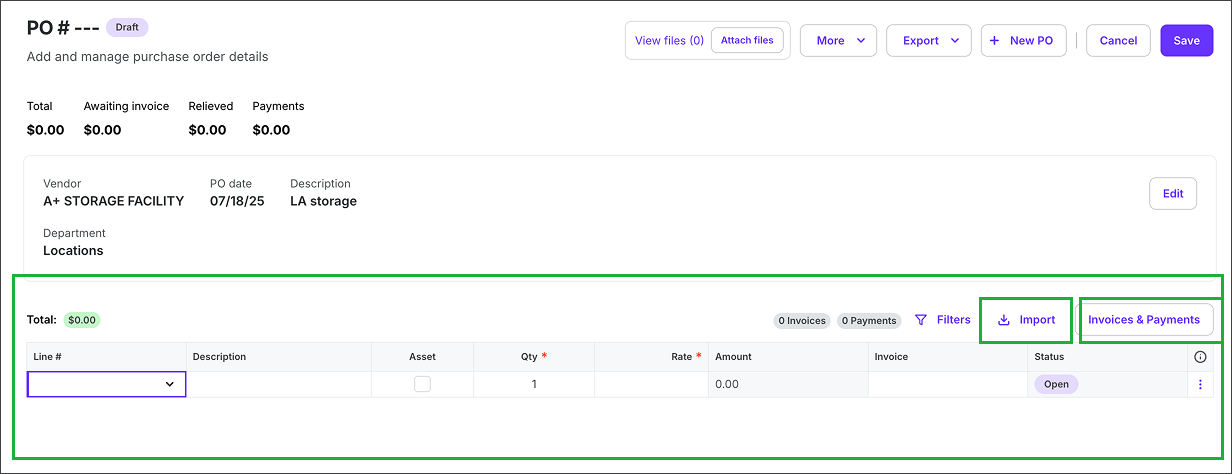
To upload an invoice click the Import button. To add an invoice that’s already been created for the project in Wrapbook, click the Invoices & Payments button.
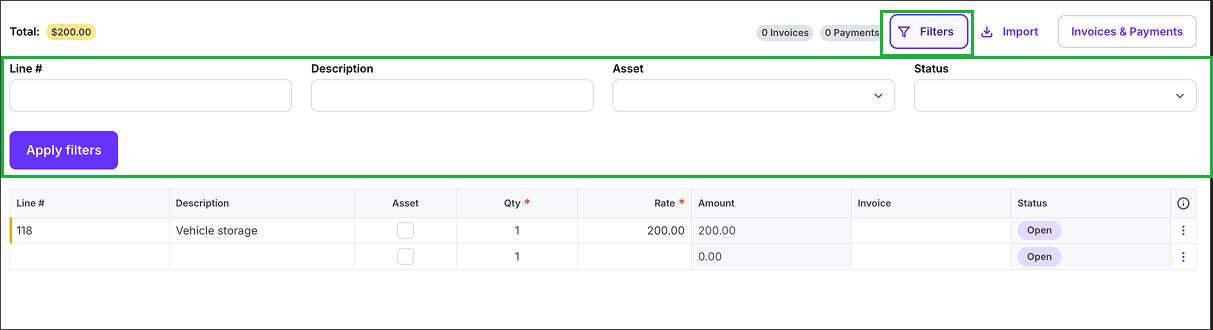
Use the filters to sort and find lines that have already been added to the PO. You can filter by Line #, Description, Asset, and Status.
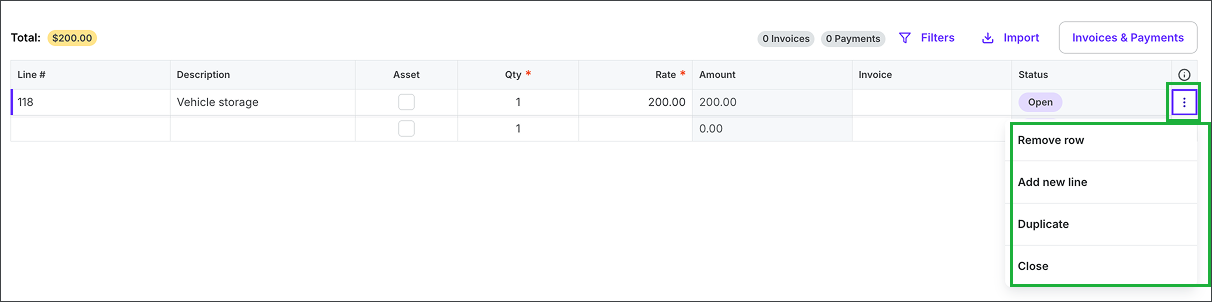
Click the three dots next to a line item to Remove row, Add new line, Duplicate, or Close
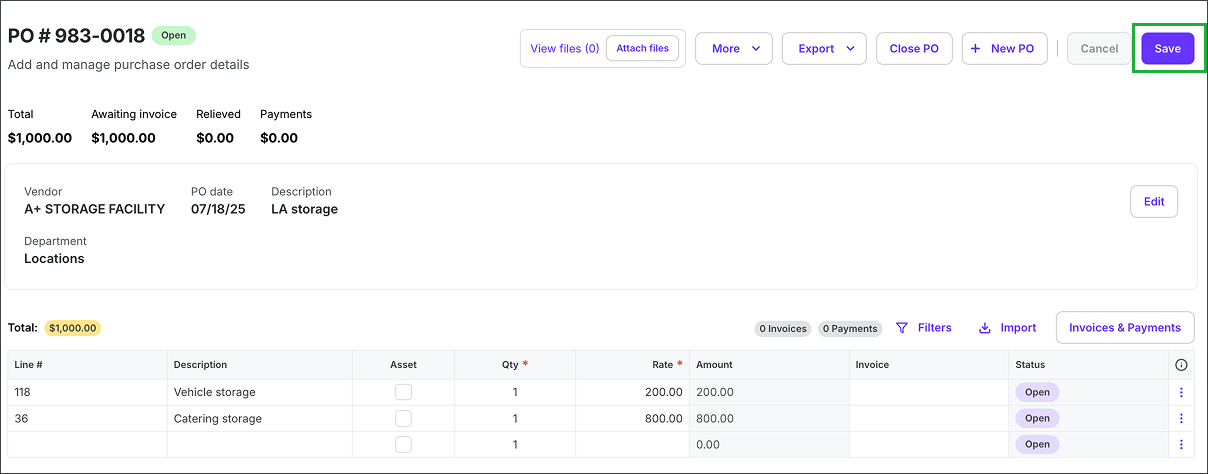
When you’re ready, click the Save button. Once the PO is saved, it will be auto-assigned a PO#.