This help article is related to the Production Accounting Suite (PAS)
In Wrapbook, production accountants and administrators can manage POs using either the Production Accounting Suite or Cost tracking. To understand the differences, click here.
Access to POs in PAS is permission based
To access POs, your account must have one of the following roles enabled:
Role: Company Admin, Accountant
Custom role with: Accounting & Cost Tracking / Purchase orders - Full access, Manage, View only
About updating a PO in PAS
Authorized production accountants can update POs in PAS as follows.
Status restrictions
Accountants can update POs when they are:
Open - Full editing capabilities
Approved - Limited editing capabilities (see below)
Reopened - Can be updated
Accountants can’t update POs when they are:
Closed
Void
What accountants can edit on approved POs
On Approved POs specifically, accountants can:
Edit the status within the header
Edit the description
Edit the period/effective date
Update account and tag coding
Add new rows to the grid
Change row status
Edit 1099 and 1099 vendor details
Check/uncheck the Asset box
Add or update AP invoice attachments
However, accountants can’t:
Change the quantity or rate on existing lines of an Approved PO
Delete rows on an Approved PO (but can change line status to Closed to remove from reports)
How to update a PO in PAS
In the left-side navigation, click the dropdown menu to select the project
In the left-side navigation, expand the ACCOUNTING menu and then click Purchase orders to go to the PO page
On the PO page, click the Edit button and then click on any of the fields to make your changes
To add a line to the PO, click the three vertical dots next to it and then select Add new line
You can also click the three vertical dots to Remove row or Duplicate it
When you’re finished making your changes, be sure to click the Save button
You can also:
Click the Attach files button to add documentation to the PO
Click the More button to Email the PO or Void it
Click the toggle to expand the Activity feed to see the audit trail of changes to the PO, and leave comments that explain changes as needed. If you leave a comment, be sure to click the Send button to post it to the Activity feed.
.png)
On the project's PO dashboard, click the PO# to view the PO page
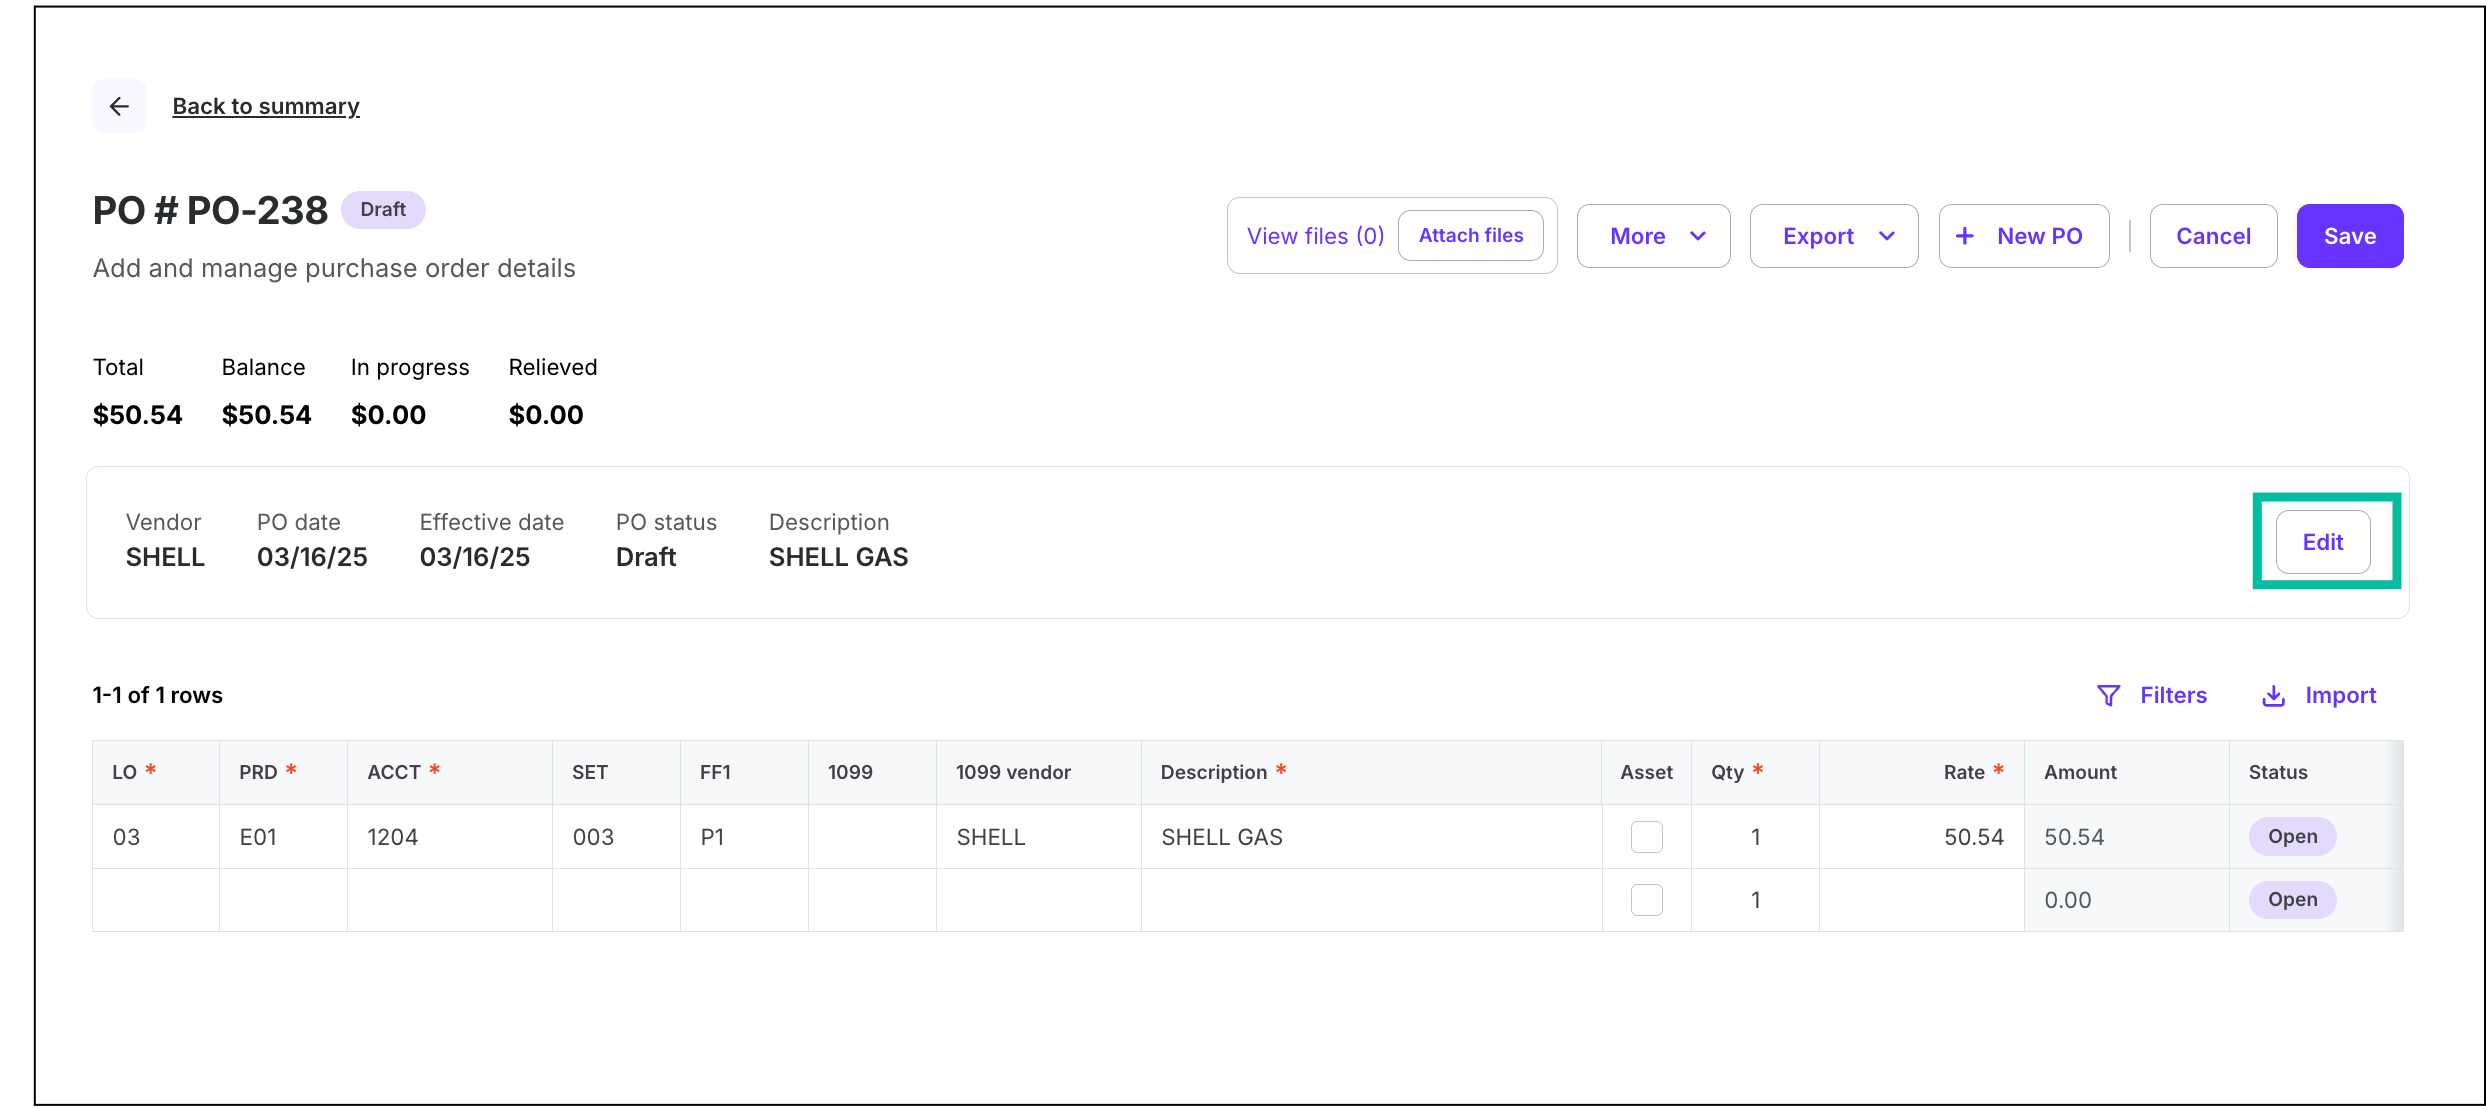
Click the Edit button to make changes to the fields on the PO page
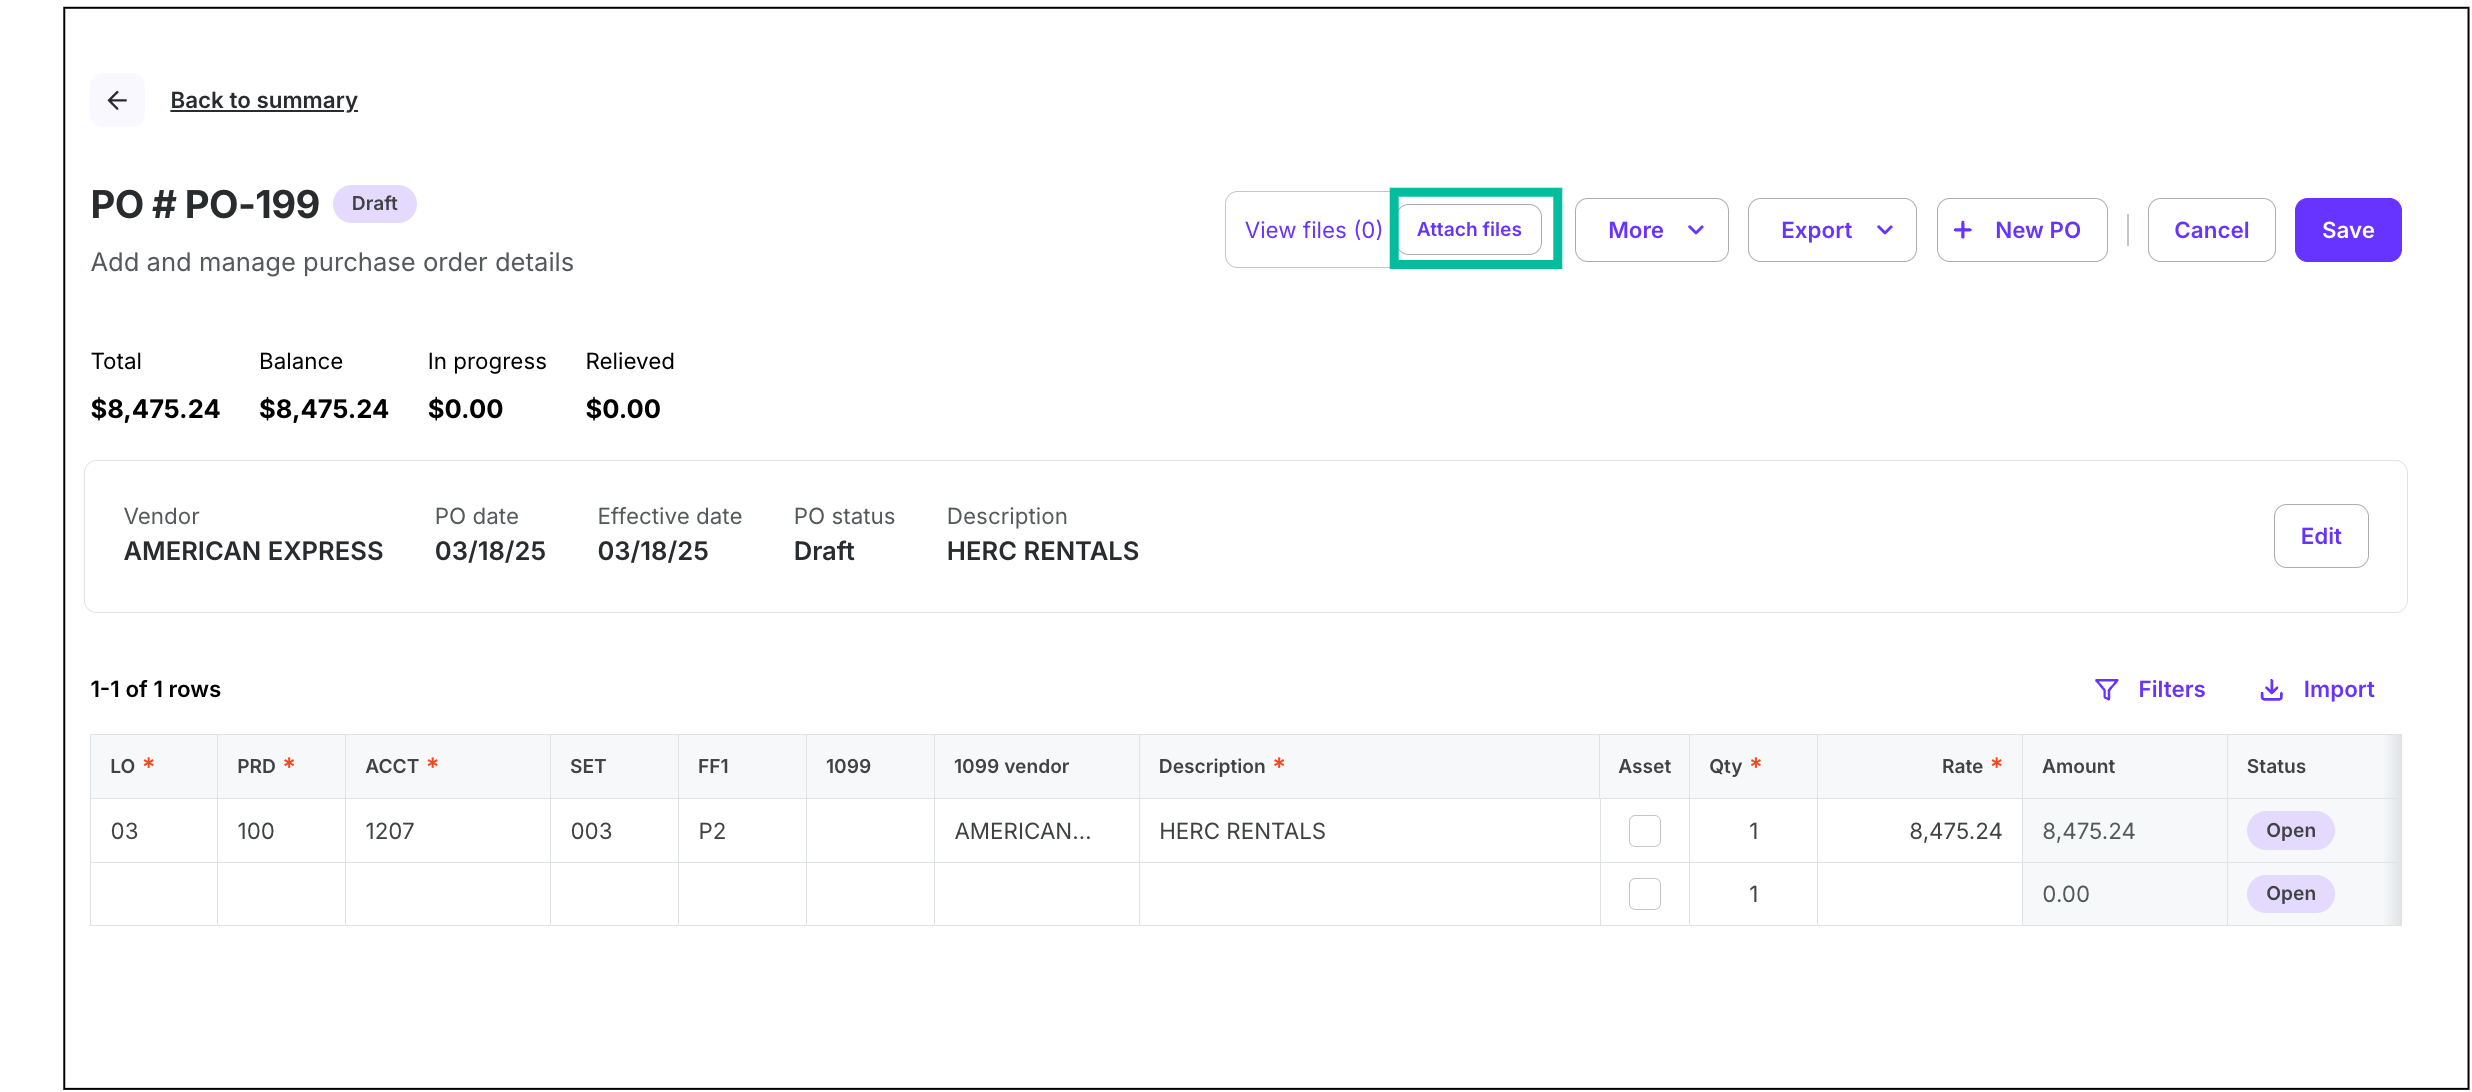
Click the Attach files button to add documentation to the PO
.png)
Click the three vertical dots next to a PO line to Add new line. You also have the option to Remove the row or Duplicate it.
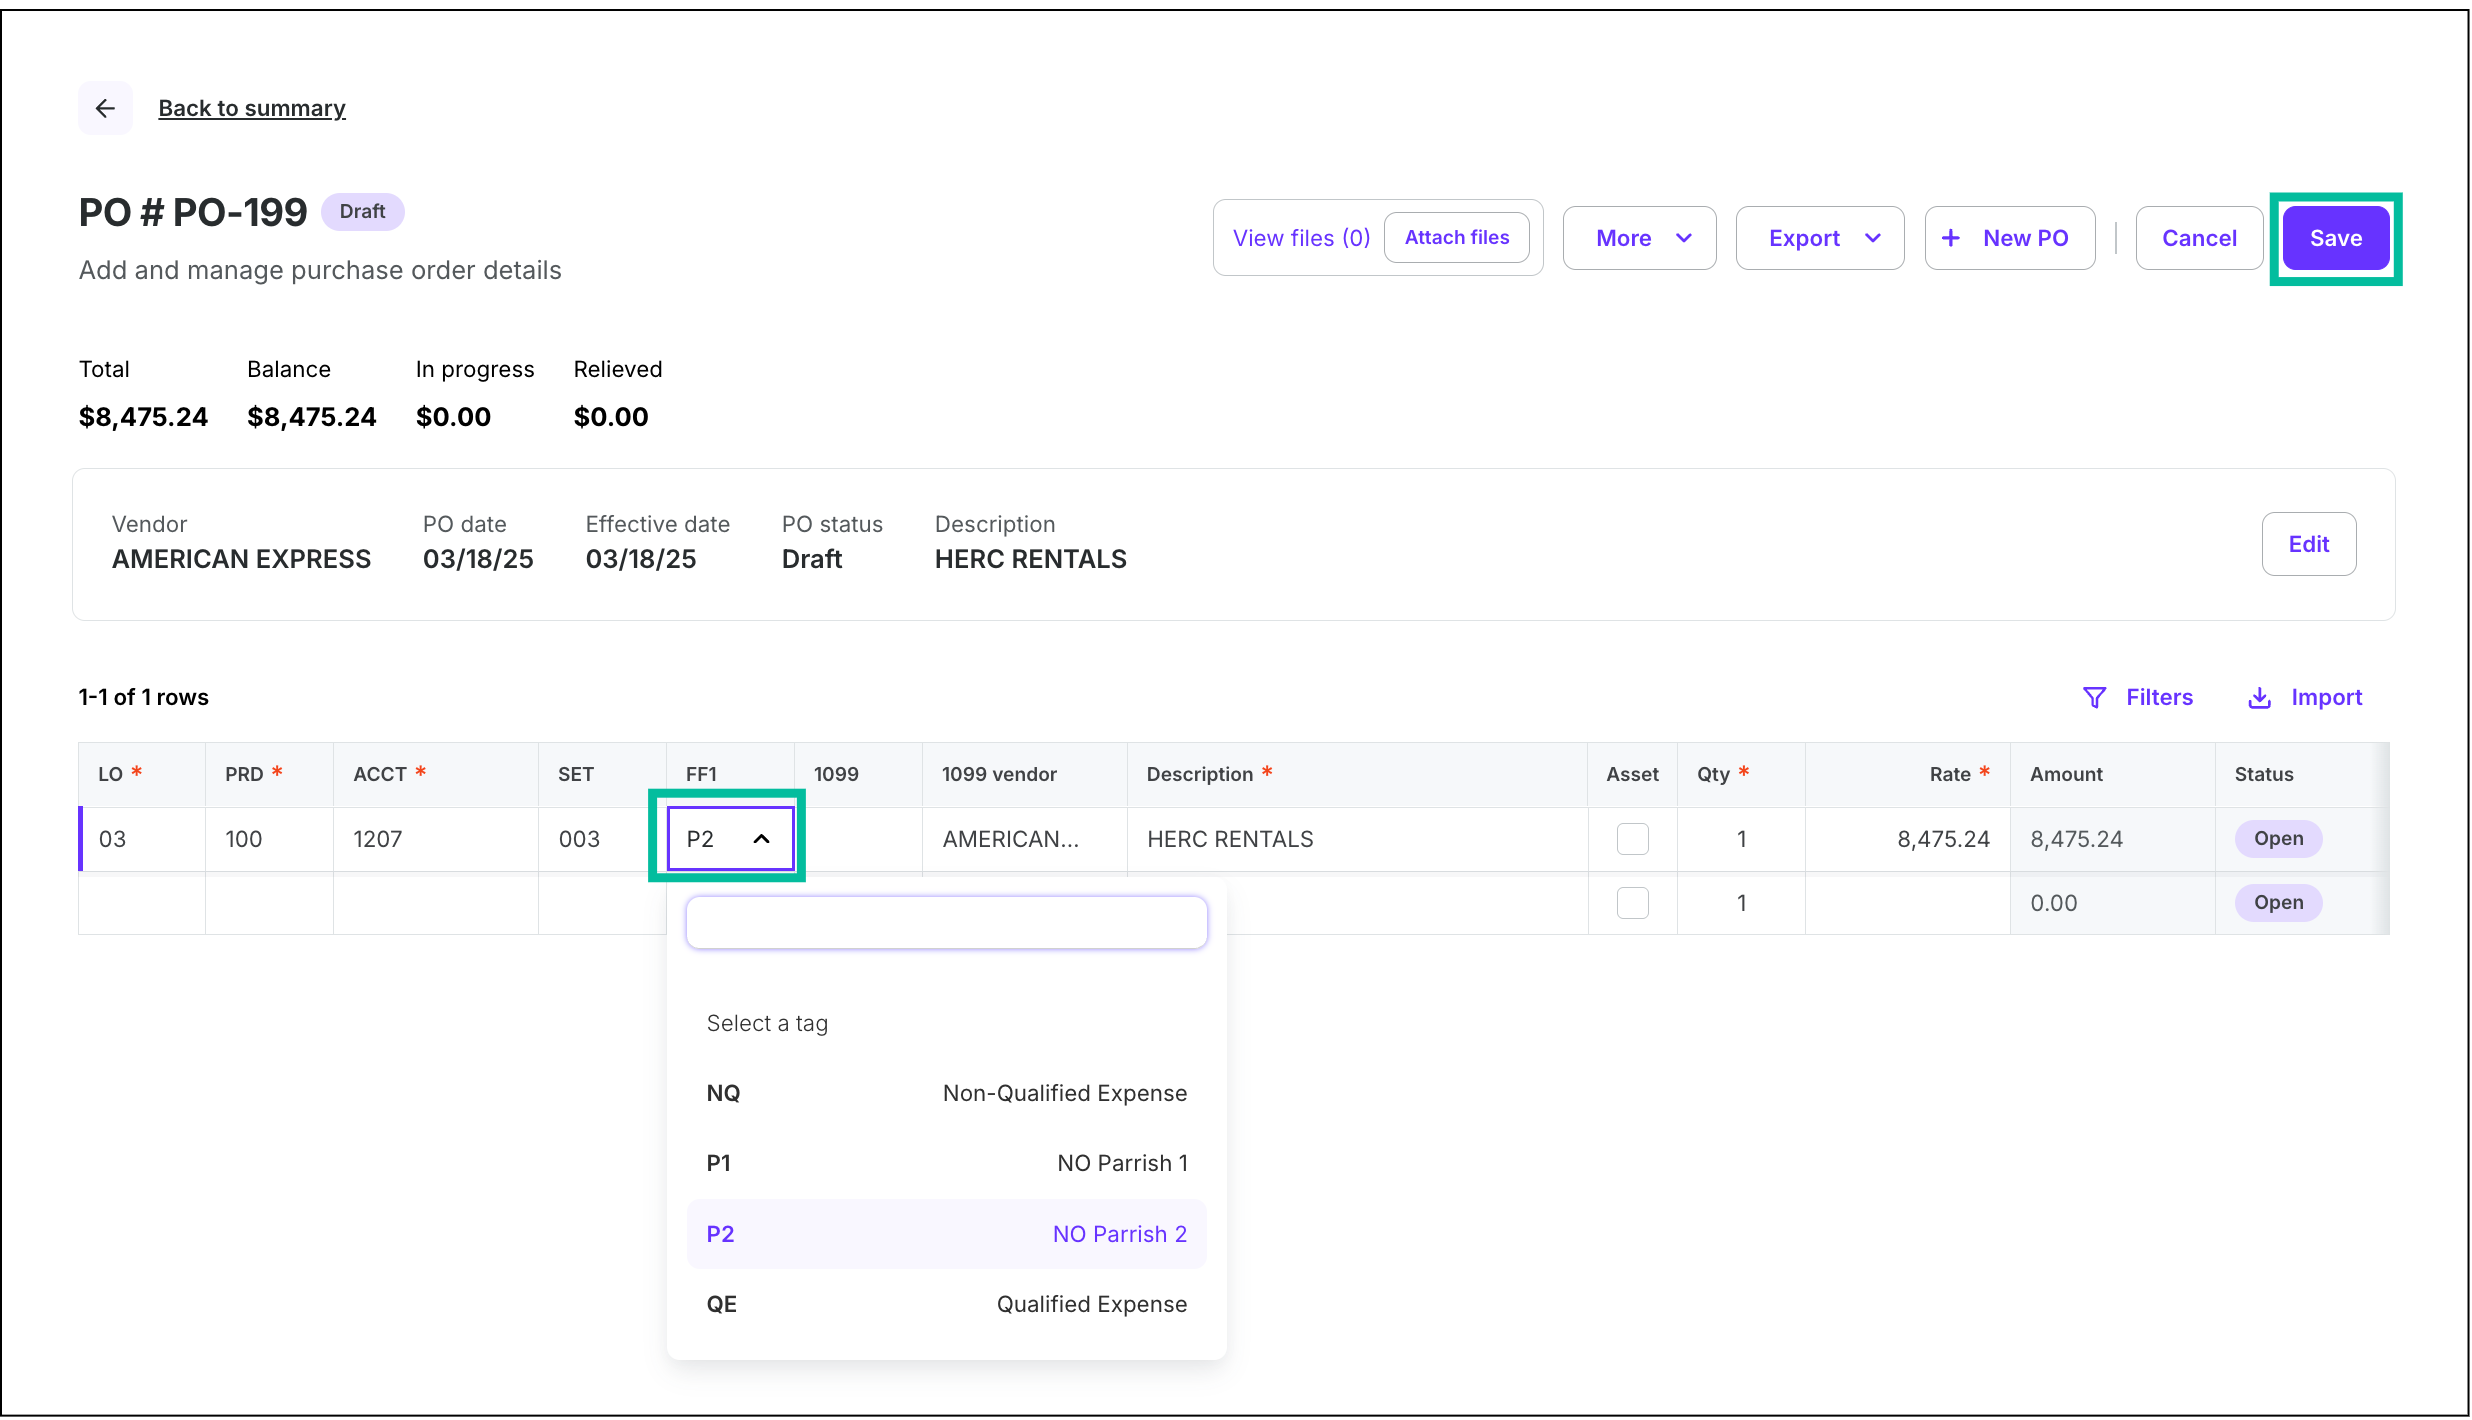
Click on any of the fields to update the PO details. Click the Save button when you’re done.
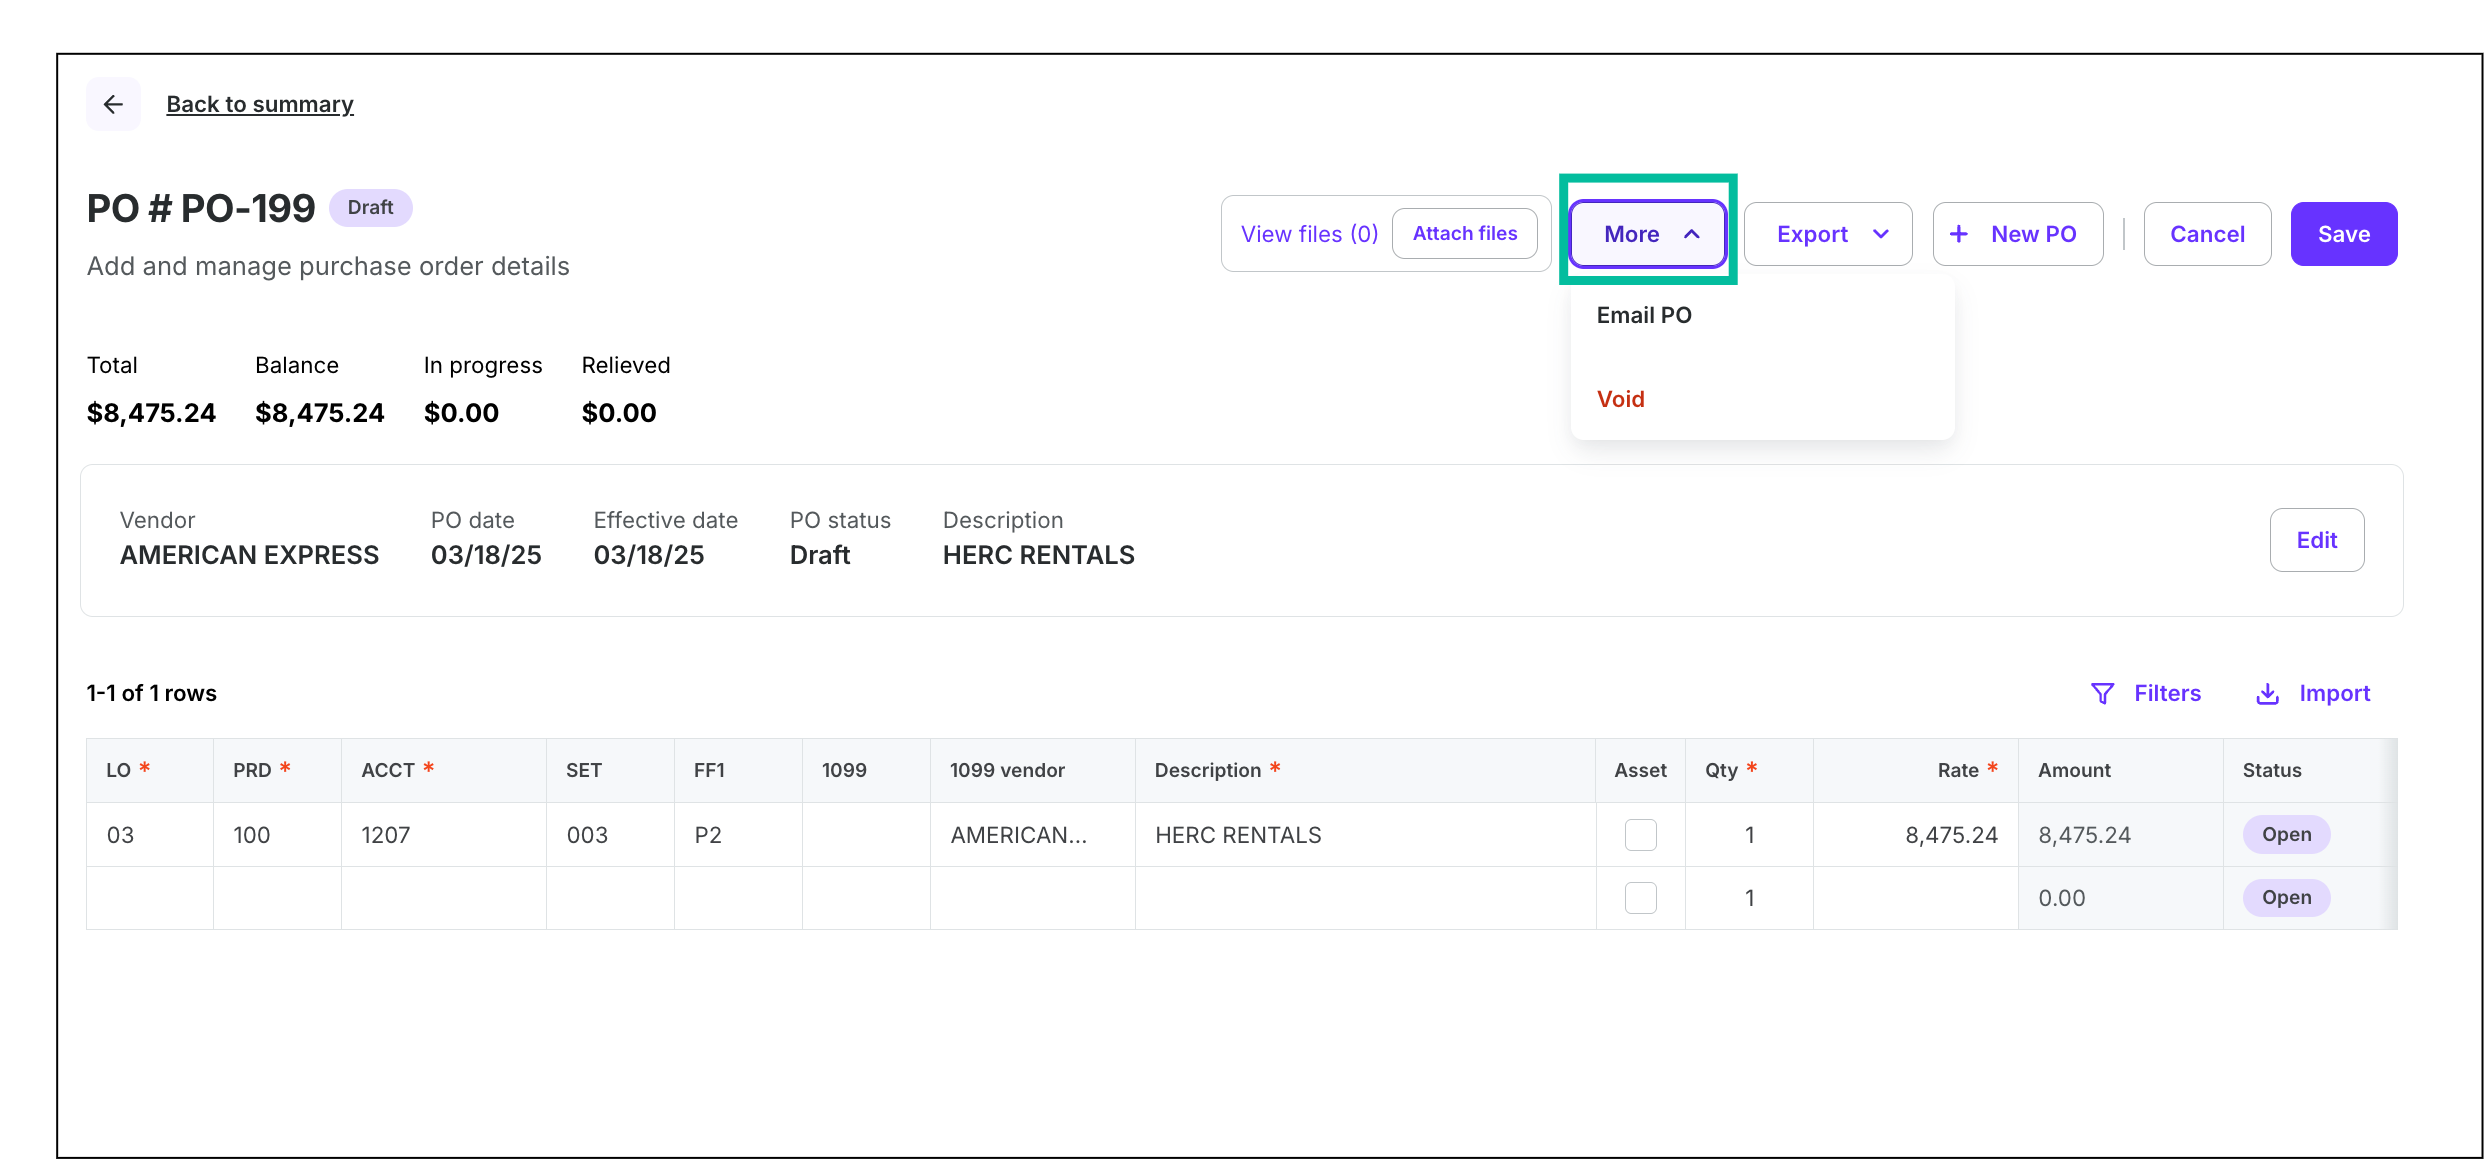
Click the More button to Email the PO or Void it

Click the toggle to expand the Activity feed to see the audit trail of changes to the PO, and leave comments that explain changes as needed. If you leave a comment, be sure to click the Send button to post it to the Activity feed.