Welcome to Wrapbook!
This guide will walk you through the steps to set up your production worker account so you’re ready to start your project on time.
Download the Quick Start Guide
You can download the PDF version of Wrapbook’s Quick Start Guide and save it, print it, or reference it offline at any time.
Account setup tips
When setting up your Wrapbook account, make sure to:
Double-check all personal information for accuracy to avoid delays
Keep your login credentials in a secure place
Complete all required forms before your project start date
Quick start steps
Follow these steps to start using Wrapbook:
Step 1: Accept the invitation
You’ll receive an invitation email from your production company through Wrapbook
The subject line will be: “Welcome, [Your Name]! - [Project Name]” and the email will come from @wrapbook.com
The email includes your project details and work terms
Click Join Project in the invitation email
On the following page, click Accept Invitation
Note: If you’re represented by an agent, your invitation may not include a link. Instead, your agent will receive the link to complete onboarding on your behalf. To learn more, see How to use Wrapbook when you have an agent.
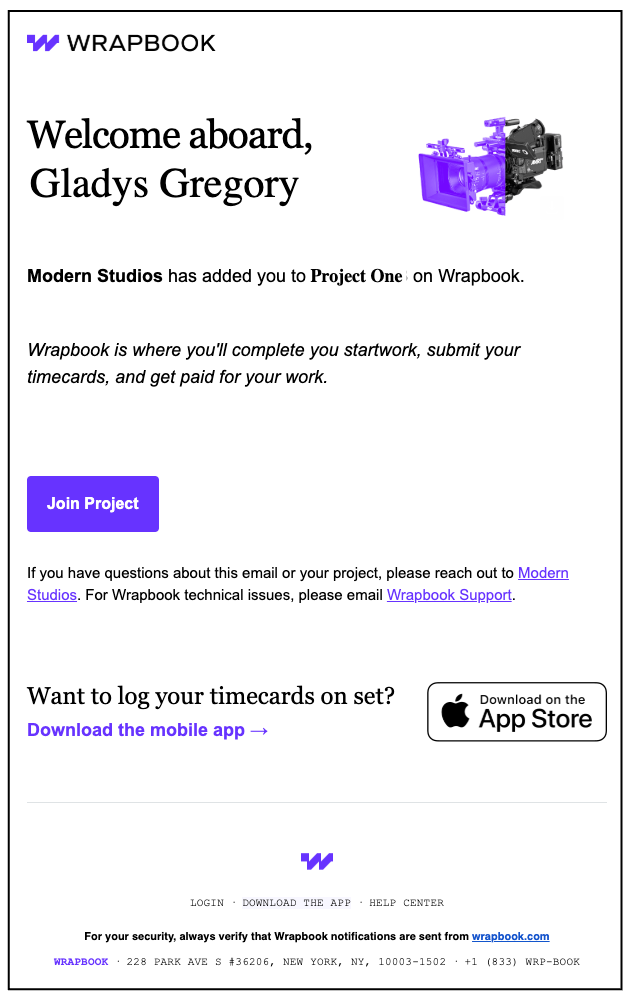
Example of a Wrapbook invitation email
Step 2: Create your account
Enter the same email address where you received the invitation
Enter your legal first and last name
Create a secure password
Provide your Social Security Number (double-check for accuracy)
To learn more, see Your Wrapbook Account
Step 3: Verify your account
Check your email inbox for a verification message from Wrapbook
Click the verification link to activate your account
If you don’t see the email, check your Spam folder or search for messages sent from @wrapbook.com
Step 4: Complete your required startwork
Fill out your tax forms (W-4 and state tax forms)
Complete your I-9 verification
Review and accept any additional production-specific documents
To learn more, see Onboarding
Step 5: Set up your payment method
Choose if you want to receive your payments via direct deposit or mailed check
Confirm that your details are accurate to ensure on-time payment
Step 6: Submit your timecards, invoices, and expenses
Timecards: Enter your worked hours, breaks, and any overtime as required, then submit before the project deadline to avoid payroll delays
Invoices (Loan-outs only): If you’re working as a loan-out company, you’ll need to submit invoices instead of timecards
Expenses: You can request reimbursement for approved costs (such as mileage, kit rentals, or other production-related expenses)